Lasagna Gardening
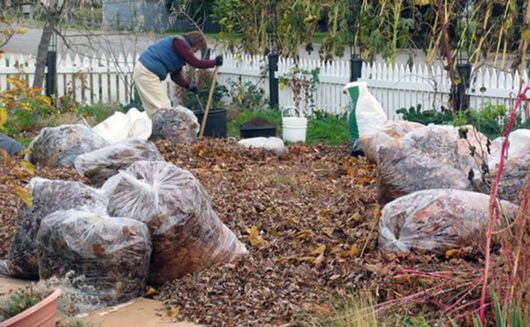
Lasagna gardening is like a poor man’s raised bed, but without the neat (and expensive) wood timbers to contain the borders. Bonus: If you have sandy, clay-ey or rocky soil, you can just build your garden bed right on top - no digging, no tilling. It’s all about layering the right ingredients in the right order. And in the end, there’s no weeding, so what’s not to love?
What you will need:
- Corrugated cardboard or newspapers
- Clean straw (not hay, which is full of seeds)
- Compost or aged manure
- Peat moss
- Wood ashes
- Small logs*, about 18” long and 6” to 10” in diameter
(preferably maple, oak, elm or lastly, pine) - Cayenne pepper
*Do not use treated wood, locust, cherry or any species of walnut.
How to get your lasagna garden cooking
Locate the right area for the garden bed, which can be as small or large as you like. The ground should be flat and receive at least 5 hours a day of full sun for a vegetable or cutting-flower garden.
Outline the area with spray paint, a garden hose or stakes-and-string. Now it’s time to start putting your layers down, in this order:
- Remove all tape and staples from corrugated boxes and break them down flat. Cover the garden area with the flattened boxes, or use newspaper (10 pages thick). A thick layer of straw (at least 3”) will also serve the purpose of smothering existing weeds/grass and preventing them from growing up through your layers.
- Compost or aged manure. Never use fresh manure, as it will burn your plant roots. Do not use pet or human manure.
- Water until the first two layers are moist.
- Add a 2-3” layer of straw to aerate the layers. Moisten the straw.
- Leaving a 1’-2’ empty border around the edge of the bed, put down a layer of logs. This may seem odd, but it’s a centuries-old proven technique called hugelkultur (“hill culture”), which allows the wood to break down over time, creating a loose soil composition in which microbes can thrive. Wet the logs well.
- Now for a “green” layer, which can be kitchen scraps (vegetable waste, eggshells, untreated grass clippings. Extend this layer to completely cover the logs, all the way to the garden border. Wet down this layer as well.
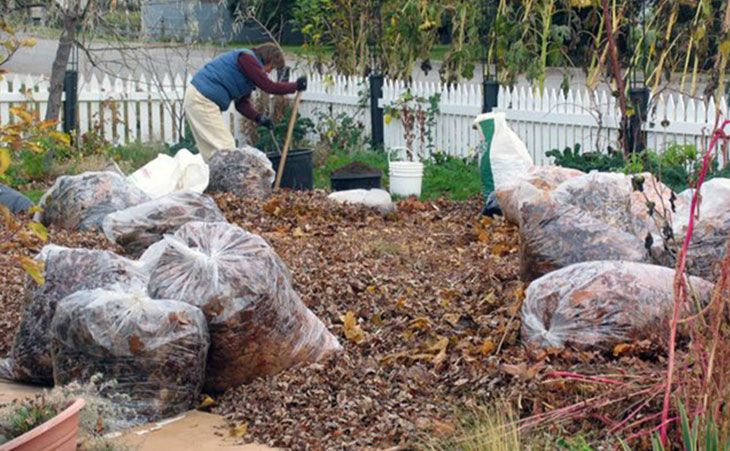
- It’s time to alternate with a “brown”, or dry, layer. Straw, dry leaves, undyed wood chips, shredded bark, used paper towels or shredded paper are all excellent. (This is also a good time to add a sprinkling of compost starter, which is optional, but will break down the layers more quickly.) Water lightly.
- A second green layer is next, using any of the ingredients in #6.
- Another brown layer goes here. Keep alternating green and brown layers until your pile is at least 3’ deep, or deeper. Water lightly after you assemble each layer. Over time, it will break down and not be as high.
- Add another optional sprinkling of compost starter, then add a 3” layer of peat moss, and water lightly.
- Sprinkle a barely visible layer of wood ashes on top of layer #10.
- When your lasagna garden is the proper height, add a final layer of compost or aged manure mixed with fertile garden soil (at least 2” deep), and give it one final moistening.
- Sprinkle a trail of cayenne pepper around the bed perimeter to discourage foraging critters which may be attracted to the “green” layers.
Now you’re ready to plant! There is no need to wait for the elements of your garden bed to break down. Every couple of years, replenish the bed using the steps above and you’ll have the most prolific garden in the neighborhood.
- Article Categories:
- Ideas & Inspiration
- Organic Gardening

