How to Plant a Stark® EZ Start® Potted Tree
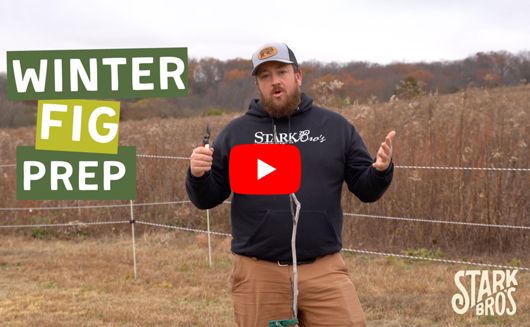
Learn how to plant a Stark® EZ Start® potted tree. Read our step-by-step directions and watch our short video demonstration.
The Benefits of Planting Potted Trees
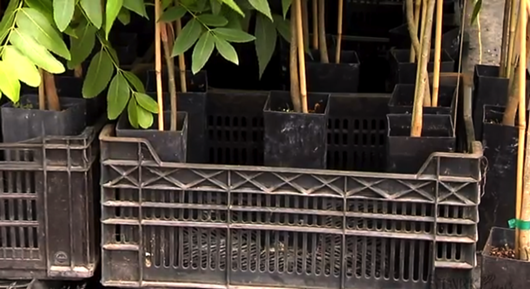
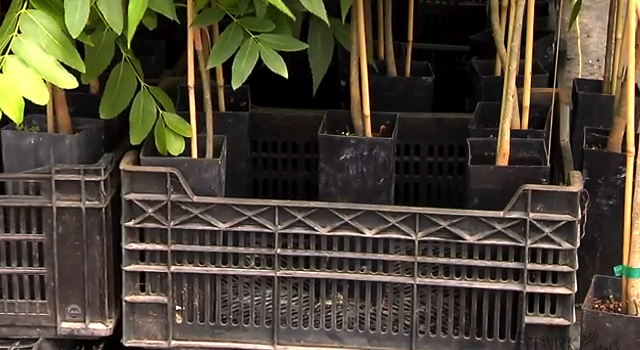
Why not always bare-root? For some fruit and nut trees, we wanted to offer an alternative. Potted trees come with soil around the roots, which makes it easier to tell what the exact planting depth should be when it’s time for transplanting. Potted trees can be planted when the weather is cool, or once it warms up — literally nine months out of the year. Bare-root trees are typically still dormant and better off planted when temperatures remain cool, mostly in the early spring and late fall.
An additional benefit is the strength of our potted trees’ root system. Most all of our trees are two years old. Because of the ingenious way Stark® EZ Start® pots are designed, the root system inside the pot grows to be the equivalent of a three-year-old tree. That means transplantation is less stressful, the tree will establish more quickly — and best of all — it will begin producing fruit closer toward the lower end of the “Years to Bear” range. EZ Start® Supreme and Supreme XL trees are even stronger and hardier, with a larger caliper size and more advanced root system. Supreme and Supreme XL trees (which are available for many potted and bare-root varieties) are selected as our top-grade trees of the season — the “cream of the crop.”
Planting a Stark® EZ Start® potted tree
Once you receive your new Stark® EZ Start® potted tree, we have some tips for getting it properly planted. As always, if you can't plant when your potted tree arrives due to weather or other factors, it is possible to safely delay planting.
What you need:
- A knife, scissors, or sharp pruners for loosening roots
- A shovel for digging the planting hole
- A bucket, hose, or watering can
Directions:
- Dig a generous planting hole to accommodate the current roots and allow for future growth
- Gently remove the Stark® EZ Start® pot from around the tree’s roots
- Carefully score the roots with your knife or pruners, and carefully loosen them
- Center the rootball in the planting hole, keeping the soil level of the tree even with the ground level
- Backfill the hole over the roots, keeping the trunk vertical and straight
- Tamp the soil to remove air pockets as you replace the soil
- Thoroughly water your newly planted tree
Note: If planting on a slight incline, like a hillside or slope, be sure to pull the remaining soil around to the lower side of the tree to form a berm. This berm works like a levee to catch water instead of it running off and down the hill. As a result, water will soak down to the roots of the newly planted tree while it’s getting established.
Our horticultural experts have done extensive research and experimentation to develop this innovative program.
Read more about Stark® EZ Start® potted trees:
It's not always possible to plant immediately when your order arrives. Here are some tips for how to delay planting your trees and plants:
- Article Categories:
- How To Grow

